In this tutorial, we will backup an AWS RDS MySQL database as a dump, then we will mount the dump locally using a MySQL Testcontainers. Finally, we will explore the local backup content and schema, using SQuirreL.
1) Backup the AWS MySQL database
We need an EC2 instance that has access to the database. For more information on how to do this, please follow this short tutorial.
Once you have the EC2 instance and you are connected via SSH, first we need to install the latest version of the mysql client. Run:
sudo yum install -y https://dev.mysql.com/get/mysql80-community-release-el7-4.noarch.rpm
sudo yum install -y mysql-community-client
Then to download a backup of the database, do:
mysqldump -h $host -u$username -p$password --all-databases > dump.sql
, where you need to replace $host, $username and $password with your own database values.
We now have the MySQL backup on the EC2 VM, in the file dump.sql. You may look at the first lines of the file, by running:
[ec2-user@ip-172-31-6-212 ~]$ head -7 dump.sql
-- MySQL dump 10.13  Distrib 8.0.27, for Linux (x86_64)
--
-- Host: database-1.cjrp4imxd7sw.eu-central-1.rds.amazonaws.com    Database:
-- ------------------------------------------------------
-- Server version	8.0.23

/*!40101 SET @OLD_CHARACTER_SET_CLIENT=@@CHARACTER_SET_CLIENT */;
2) Download dump.sql from AWS EC2 instance to local computer
Let’s download dump.sql on our local computer. To do this, exit the SSH session with the EC2 VM, so that you are back on your own machine. Then, run:
scp -i $sshKey ec2-user@$ec2Ip:dump.sql ~/Downloads
, where you need to replace $sshKey with the path of the private SSH key you use to SSH the EC2 VM. Also replace $ec2Ip with the IP address of the EC2 VM.
More details on how to SSH an EC2 instance, how to build the SSH private key and to find the EC2 instance IP address can be found in this 2-minute tutorial.
3) Start local MySQL
To run a MySQL database using Java Testcontainers, simply do:
package com;

import org.testcontainers.containers.MySQLContainer;

public class LocalMySQL {

    public static void main(String[] args) throws Exception {
        MySQLContainer<?> mysql = new MySQLContainer<>("mysql:8.0.23");
        mysql.start();

        System.out.println(mysql.getJdbcUrl());

        Thread.sleep(100000000);
    }
}
In the console, you will get the JDBC URL of your local MySQL database.
You may use other techniques than Java + Testcontainer to run a local MySQL database. For instance, you may run it as Linux Systemctl service.
4) Mount the database backup dump on a local MySQL database
On your machine, you also need the mysql client in order to mount the backup dump. Install it by running:
sudo apt-get install mysql-client
Finally, to mount the backup, run:
mysql -f -u root -h localhost -P 49168 --protocol=tcp --password=test < ~/Downloads/dump.sql
, where you replace 49168 with the port of your local MySQL database, that is part of the JDBC URL from above:
System.out.println(mysql.getJdbcUrl());
You will get a few errors and warning like this:
mysql: [Warning] Using a password on the command line interface can be insecure.
ERROR 1465 (HY000) at line 1197: Triggers can not be created on system tables
ERROR 1465 (HY000) at line 1233: Triggers can not be created on system tables
ERROR 1465 (HY000) at line 1269: Triggers can not be created on system tables
, but you can safely ignore them.
5) Explore the local AWS MySQL backup with SQuirreL
First, let’s install SQuirreL:
sudo snap install squirrelsql
Then, openSQuirreL by running:
squirrelsql
, in a terminal.
On the left side of theSQuirreL window, go to the Drivers section, look for the MySQL driver, go to the Extra Class Path section, and add the latest MySQL JDBC driver jar, than you can find here:
https://mvnrepository.com/artifact/mysql/mysql-connector-java/8.0.27
Then, on the left side oftheSQuirreL window, go to the Aliases section, and add a new alias. Use the following connection values:
URL: jdbc:mysql://localhost:49166/$dbName
User Name: root
Password: test
, where you replace 49166 with the port of your local database, that you can find from the JDBC URL in part 2).
Also, you need to replace $dbName with the name of the AWS RDS MySQL database you want to explore. You Alias should look like this:
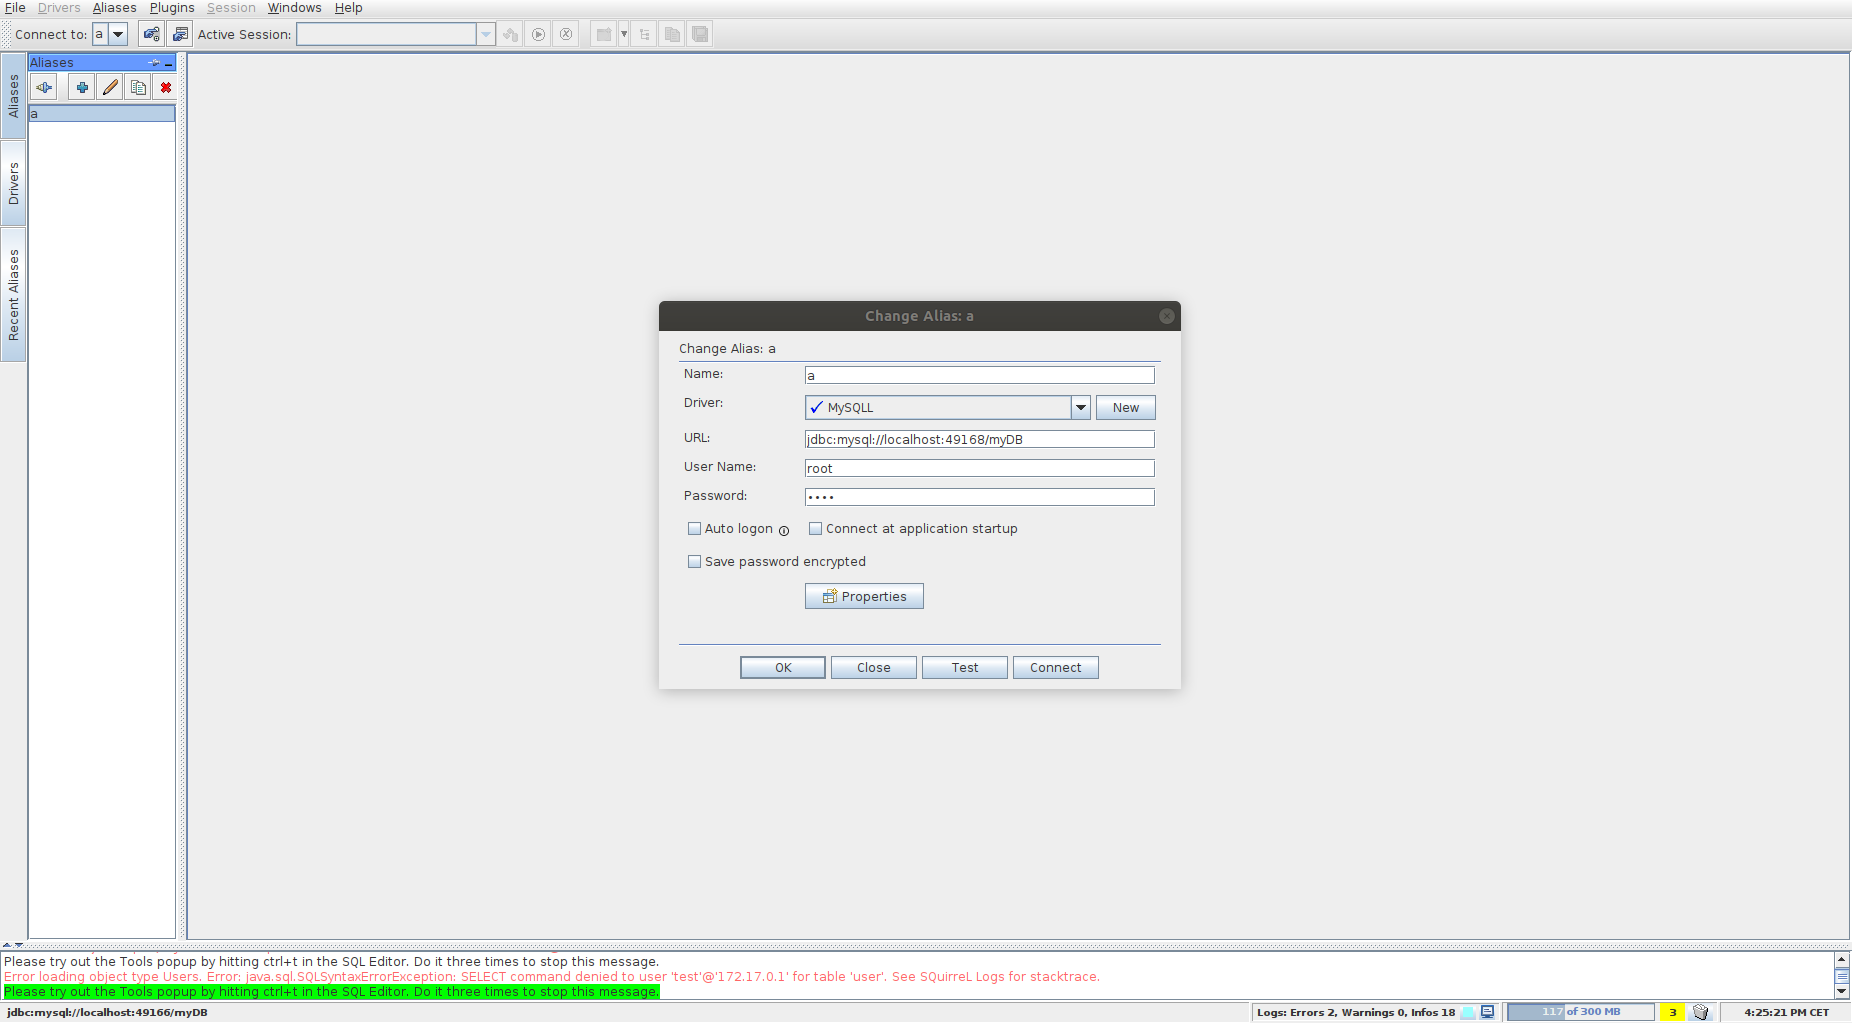
Then, click on Connect. You should now be able to see the content of your database backup:
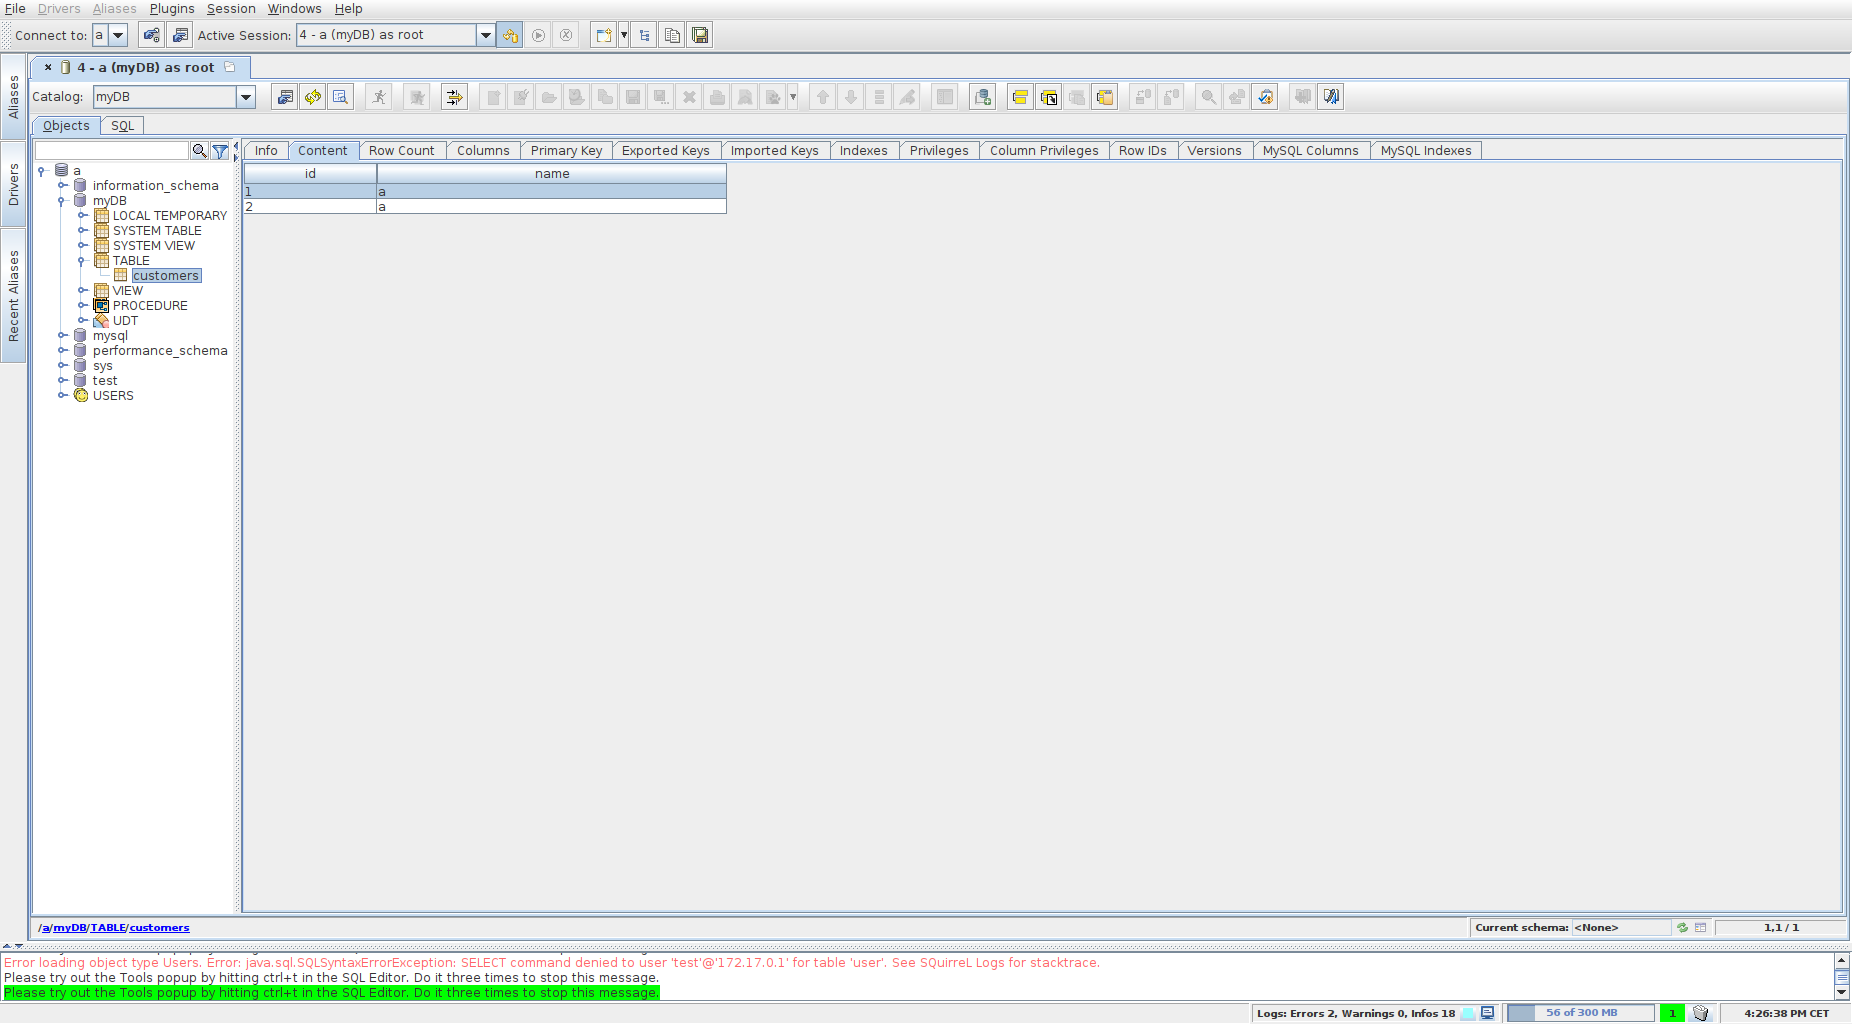
Finally, you can also see a clear and detailed view of your columns schema:

Thank you for reading ! If you have questions, please leave a reply below.