How to SSH to an AWS EC2 instance in 2 minutes. We automate most of the process using a bash script, jq and the AWS CLI.
1) Open SSH traffic to the EC2 instance
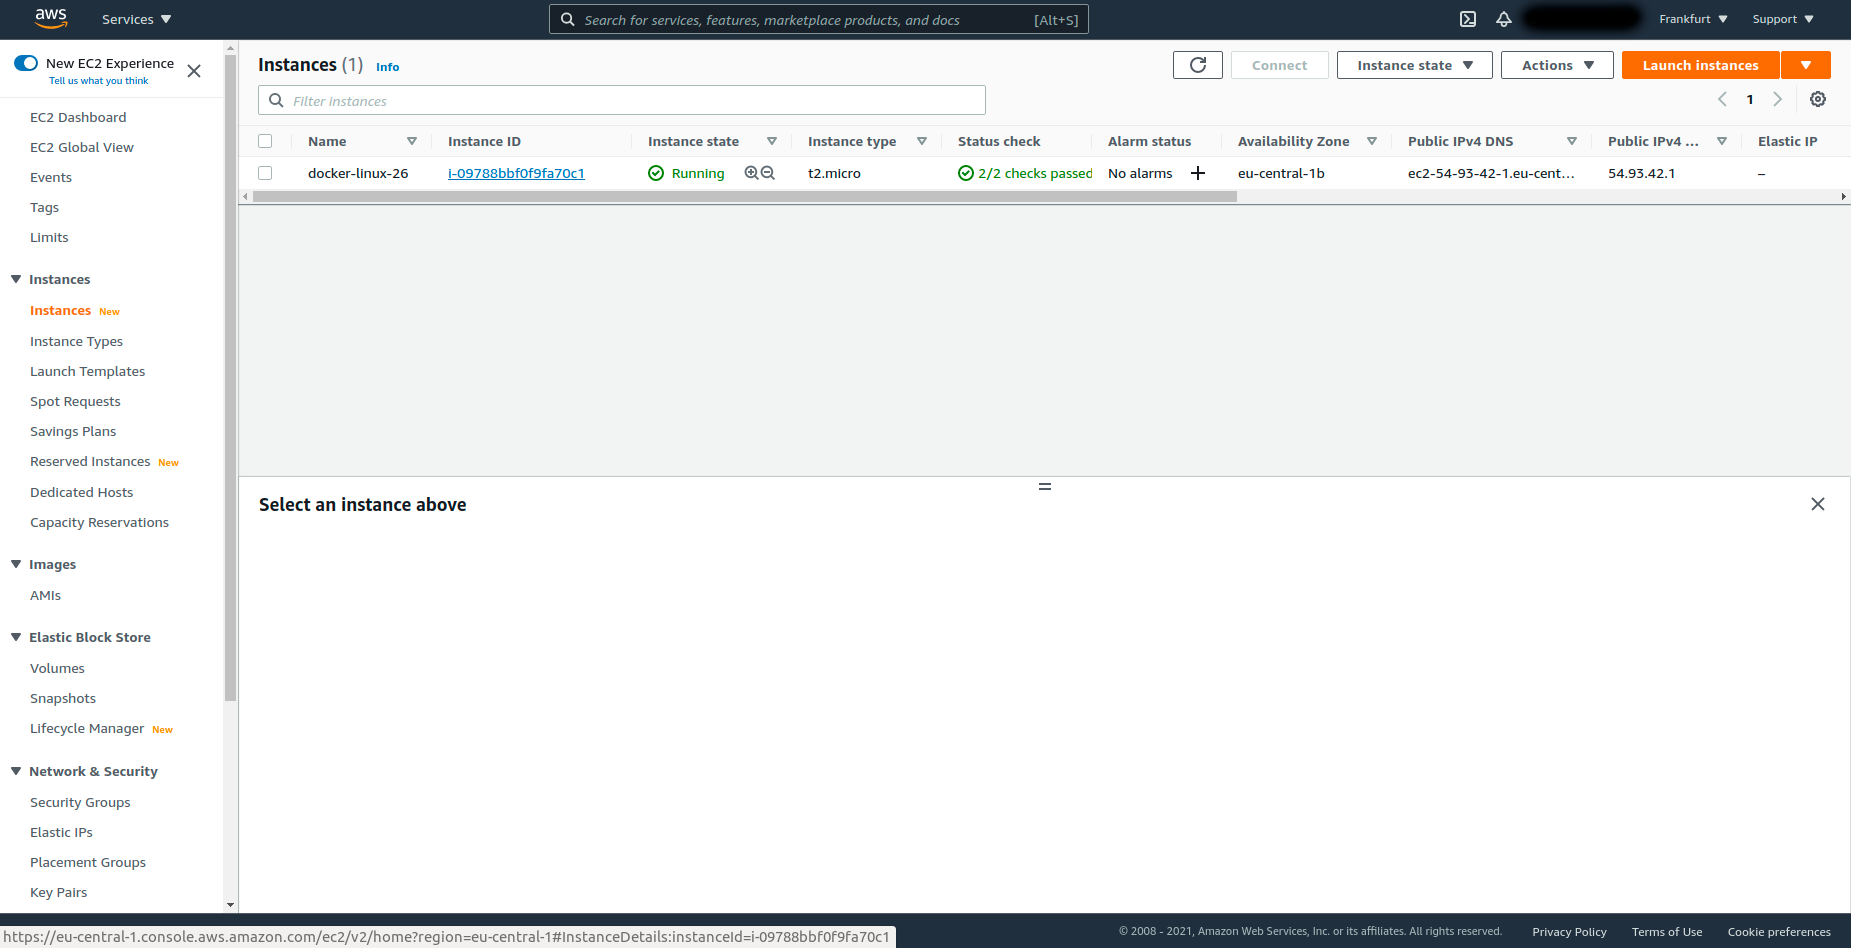
Log into the AWS console and go to the EC2 instances section. Then click on blue Instance ID link of the instance you want to SSH:
Then go to the Security section. Security should be highlighted in orange, and you should see the Security Groups:

Click on the first blue security group link. A new window opens showing the Inbound Rules:

On the right side of the screen, click on the button Edit inbound rules. Another window opens:

Click on the button Add rule. And add a new rule with Type: SSH and Source: Anywhere-IPv4:

Finally, click on the button Save rules
2) Install jq Json parser
On Ubuntu, simply run:
$ sudo snap install jq3) Bash script to SSH the instance using the AWS CLI
Run the following bash script:
# replace with your own values
region=eu-central-1
instance_id=i-09788bbf0f9fa70c1

availability_zone=$(aws ec2 describe-instances --region $region --instance-ids $instance_id | jq -r .Reservations[0].Instances[0].Placement.AvailabilityZone)
ip_address=$(aws ec2 describe-instances --region $region --instance-ids $instance_id | jq -r .Reservations[0].Instances[0].PublicIpAddress)

private_key=~/Downloads/key
public_key=${private_key}.pub

if [ ! -f $private_key ]; then
    ssh-keygen -C "eic temp key" -q -f $private_key -t rsa -b 2048 -N ""
fi

aws ec2-instance-connect send-ssh-public-key \
  --region $region \
  --instance-id  $instance_id \
  --instance-os-user ec2-user \
  --ssh-public-key file://$public_key \
  --availability-zone $availability_zone

ssh -i $private_key ec2-user@$ip_address
, where you just replace the variables region and instance_id with your own values. You can find the Instance ID in the AWS EC2 console (see first step of part 1) of this tutorial).
You should now be connected to the instance via SSH:
  _____ _           _   _      ____                       _        _ _
 | ____| | __   ___| |_(_) ___| __ )  ___  __ _ _ __  ___| |_ __ _| | | __
 |  _| | |/ _ \/ __| __| |/ __|  _ \ / _ \/ _\ | '_ \/ __| __/ _\ | | |/ /
 | |___| | (_| \__ \ |_| | (__| |_) |  __/ (_| | | | \__ \ || (_| | |   <
 |_____|_|\__,_|___/\__|_|\___|____/ \___|\__,_|_| |_|___/\__\__,_|_|_|\_\

 Amazon Linux 2 AMI

 This EC2 instance is managed by AWS Elastic Beanstalk. Changes made via SSH
 WILL BE LOST if the instance is replaced by auto-scaling. For more information
 on customizing your Elastic Beanstalk environment, see our documentation here:
 http://docs.aws.amazon.com/elasticbeanstalk/latest/dg/customize-containers-ec2.html

[ec2-user@ip-172-31-35-157 ~]$
That’s it for this tutorial ! If you have a question, please leave a reply below, we answer within 24h.