In this article, we explain how to connect to a decoupled AWS RDS MySQL database from an AWS Elastic Beanstalk Docker environment. We will add the RDS security group to the Elastic Beanstalk environment.
1) Create the AWS RDS database
Log into the AWS console, got to the RDS section, and click on the orange button Create database:

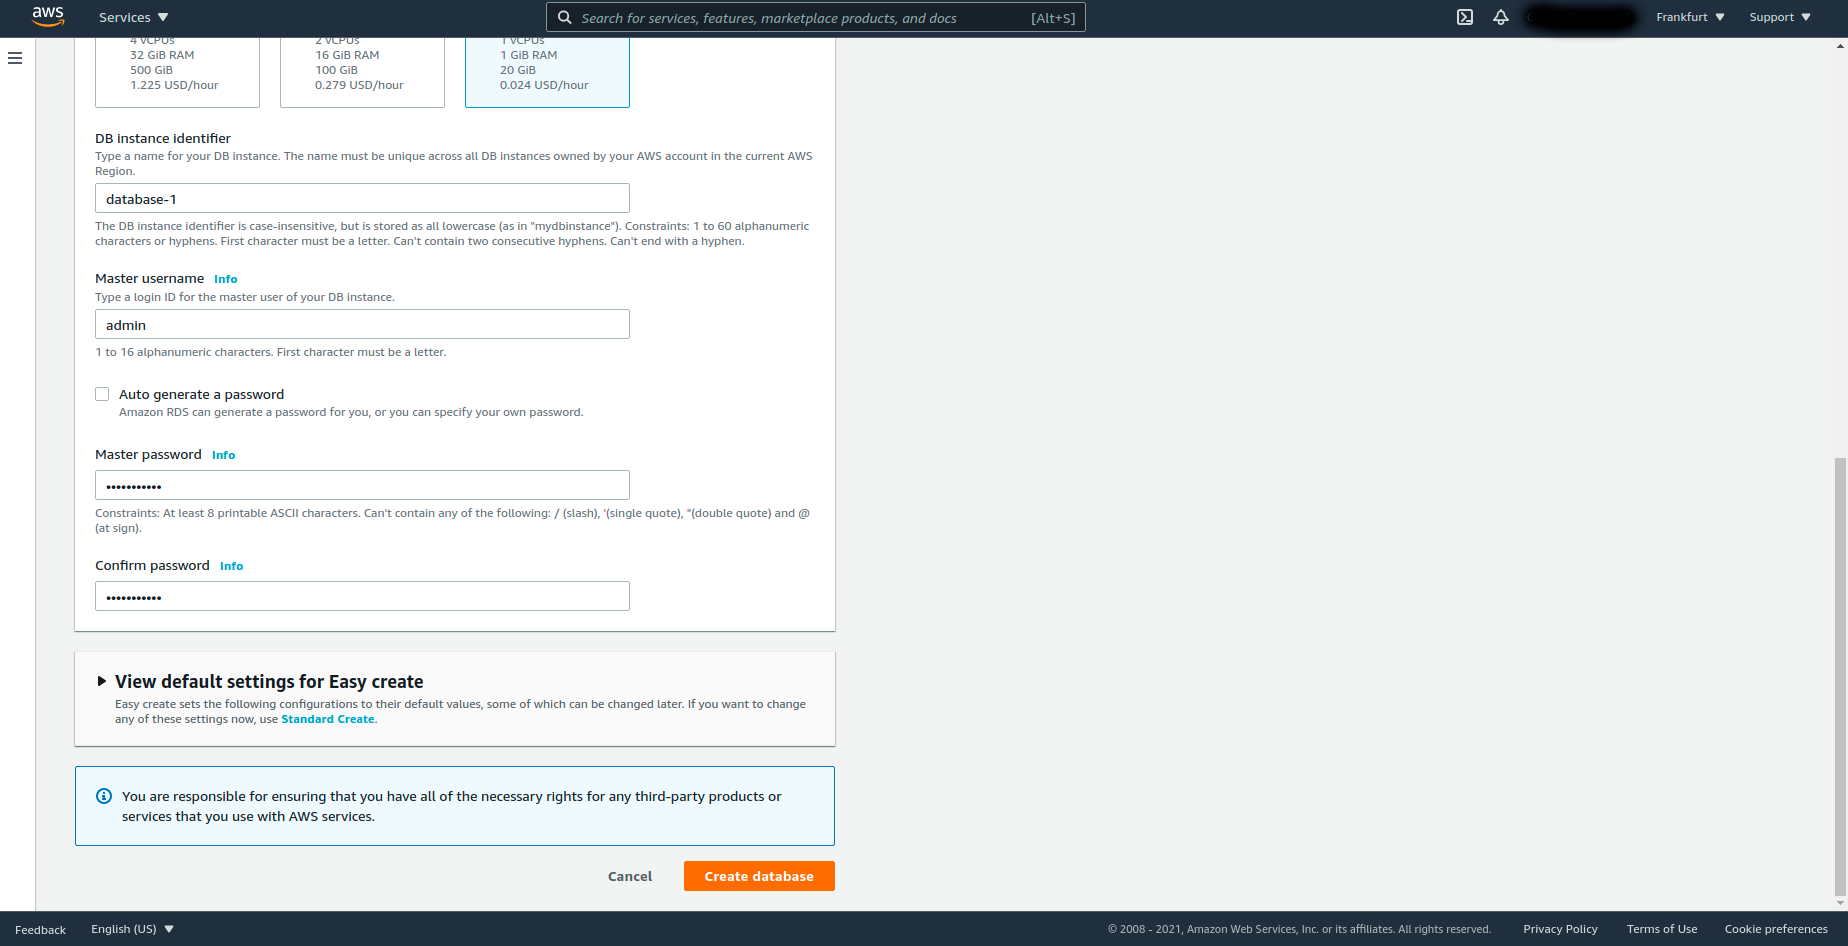
Then choose the Easy create option, and the database engine type you want (we choose MySQL because it is the cheapest one, but you can choose PostgreSQL, for instance):

Finally, enter a Master password, and repeat it in the Confirm password text box. Remember the password you set here ! Finally, click the orange button Create database:
Congratulations, you created your RDS database ! Now go to the database details page, and look for the VPC security groups. In our case it is default (sg-e8fbb983):

This is the information we will need to add to our Elastic Beanstalk Docker environment, so that it can communicate with the RDS database.
Finally, as you can see in the picture above:
Publicly accessible
No
It means that only AWS instances that have access to the VPC will be able to communicate with the RDS database. This is very good from a security point of view.
2) Add the RDS Security Group to the Elastic Beanstalk Docker Security Groups
For your Elastic Beanstalk Docker environment, you are normally using a file called Dockerrun.aws.json. Then you zip it and send it to Elastic Beanstalk as an “application”. In your zip, add a folder .ebextensions (if you don’t already have one). In this folder, create a file called security-group.config, with content:
option_settings:
  - namespace: aws:autoscaling:launchconfiguration
    option_name: SecurityGroups
    value: <rds-security-group-name>
, and replace <rds-security-group-name> with the RDS Security Group name that we found in part 1).
In our case, the VPC security groups variable is default (sg-e8fbb983). This variable uses the format:
<rds-security-group-name> (<rds-security-group-id>)
So, we have:
<rds-security-group-name> = default
<rds-security-group-id> = sg-e8fbb983
Finally, in the security-group.config file from above, we replace <rds-security-group-name> with default. Do the same with your own particular values.
3) Update your Elastic Beanstalk application
Upload your new Elastic Beanstalk application zip (that now contains Dockerrun.aws.json and .ebextensions/security-group.config) to your AWS Elastic Beanstalk environment. Use the same method as usual (for instance through the AWS console, or using the AWS CLI as explained here).
4) SQL connection credentials and URL
Now, your Elastic Beanstalk Docker application is able to communicate with your AWS RDS database. The SQL connection Endpoint and Host variables can be found in the Connectivity & Security section of the details page of your RDS database:

The DB name and Master username variables are available in the Configuration section of your RDS database page:

The SQL Password is the password that you set during the RDS database creation in part 1).
To summarize, our SQL connection values from the above pictures are:
host=database-1.a.eu-central-1.rds.amazonaws.com
port=3306
dbName=""
username=admin
Using these values in your Elastic Beanstalk Docker app code, you can send SQL queries to the RDS database.
Thank you for reading ! If you have any question, please leave a reply below, we reply within 24h.